The roots of ice climbing are connected to the history of 19th-century mountaineering. Early on, ice climbing wasn’t considered a sport in its own right. Rather, it was viewed as one of many disciplines involved in mountaineering.
It began to evolve as a singular pursuit with the design of new gear. Crampons with two protruding front points virtually eliminated the need to chop steps, resulting in speedier ascents and the desire to attempt more challenging routes. Modern ice axes or “ice tools” were introduced in 1960s. Armed with lighter, shorter axes and rigid crampons, climbers began exploring the frozen vertical world, and the sport of ice climbing was born.
Where to ice climb
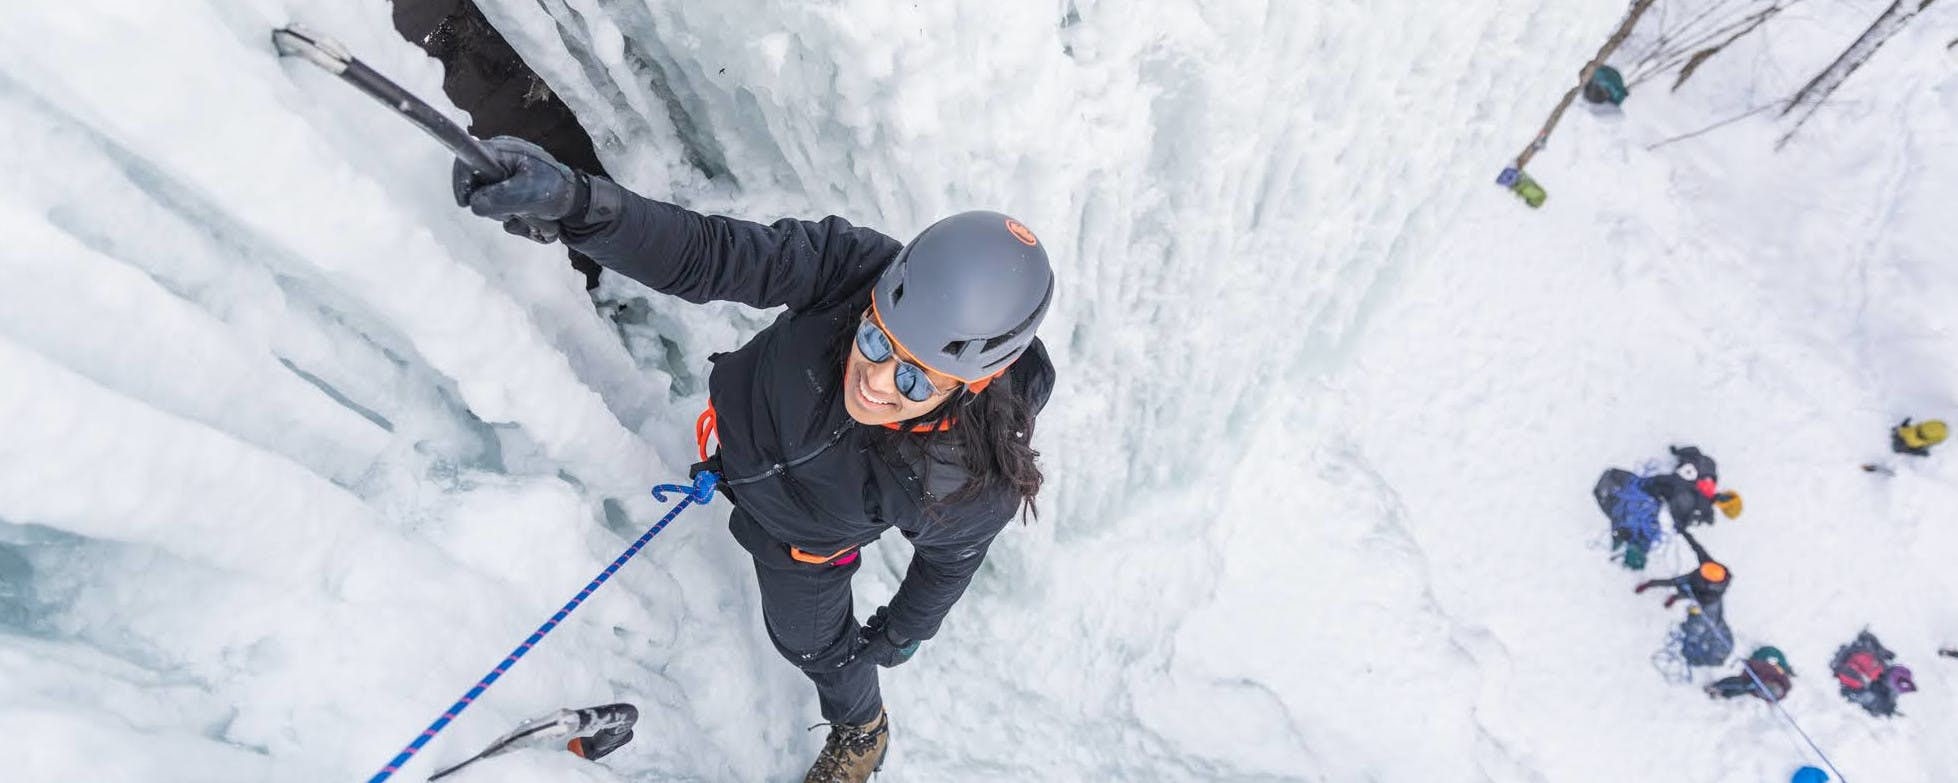
If you’re new to ice climbing, then beginner ice climbing courses with a certified guide are a must. Even if you’re a skilled rock climber, ice climbing is a whole new way to experience climbing.
“If you avidly climb outdoors, I still recommend taking course since there are additional techniques to know for safety as well as gear for ice climbing.” – MEC Ambassador Emma Contaoe
The popularity of ice climbing has spurred ice climbing festivals in Canada, the United States and Europe. Festivals are a great way to meet other climbers, sign up for courses, and demo gear. Some to check out:
-
Festiglace, Pont-Rogue, Quebec
-
Southern Ontario Ice Climbing Festival, Maynooth, Ontario
-
Nipigon Ice Fest, Nipigon, Ontario
-
YEG Ice Fest, Edmonton, Alberta
-
Adirondack International Mountainfest, Keene Valley, New York (draws many climbers from Ontario and Quebec)
-
Bozeman Ice Festival, Bozeman, Montana
-
Ouray Ice Festival, Ouray, Colorado
-
Michigan Ice Fest, Munising, Michigan
The finest ice exists in the coldest corners of the world. Canada boasts many world-class ice climbing areas in the Rockies and in Quebec. The short answer about where to climb? Anywhere there are frozen waterfalls or steep ribbons of ice. Ice climbs include anything from thick pillars to smooth, thinly veiled rock faces. Not all ice is created equally. There is soft ice, rotten ice, serac or glacier ice, rime, hoarfrost, and firnspiegel. Ice that is brittle, blue, black, plastic, that's shaped like mushrooms or cauliflower, that breaks off in dinner plates, or shatters like a chandelier. Some climbing gyms in North America now even include routes with artificial indoor ice!
Ice climbing route ratings
In North America, ice routes are graded from WI 1 (WI stands for water ice) to WI 8 (and possibly harder). WI 3 might be a good grade for a fit beginner to top-rope. WI 4 approaches vertical, and WI 5 has extended sections of vertical ice. Harder routes are steeper and more technical, offering fewer rests and increasingly marginal options for protection.
Mixed grade routes combine rock and ice and are graded differently. They start with easier M1–3 and go all the way to M12 and up. Climbers wear crampons and use their ice tools on bare rock (called “dry tooling”).
Ice climbing equipment
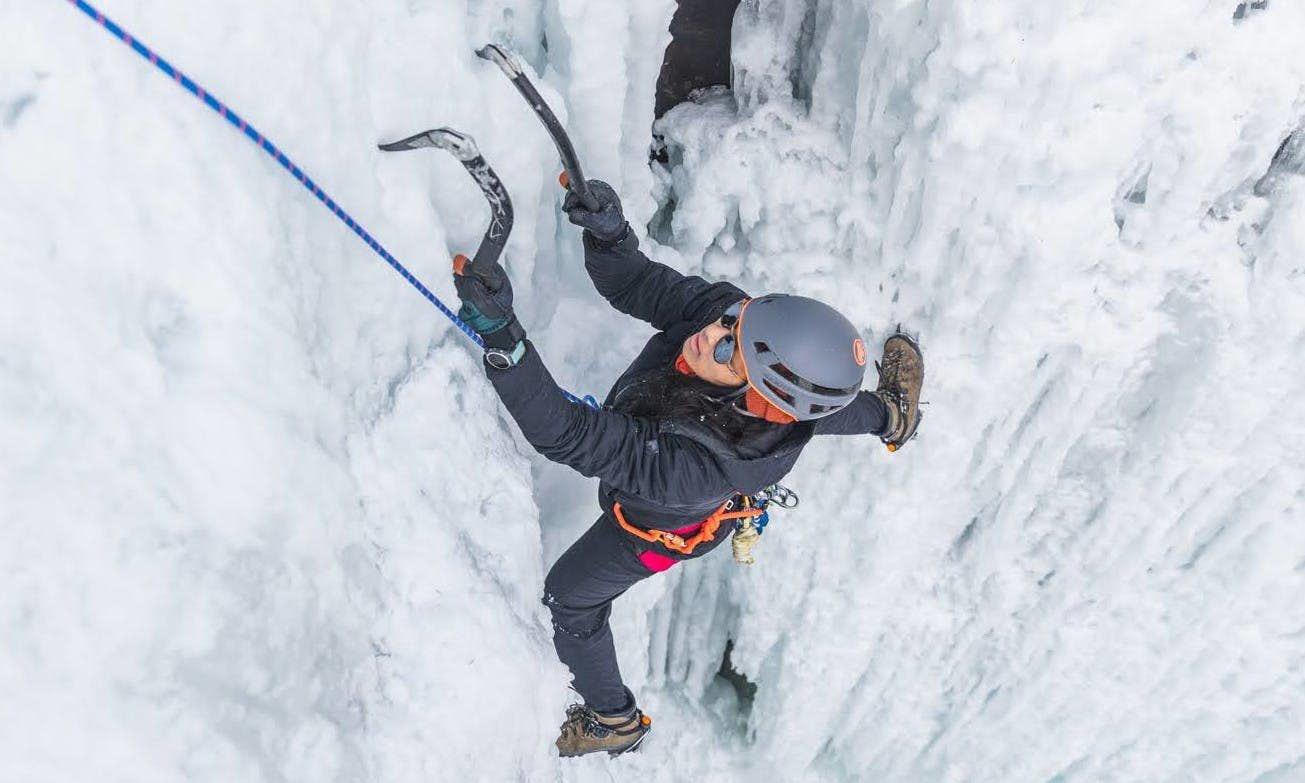
The staples of the vertical world of ice climbing include a climbing harness, rope (many ice climbers prefer to use half ropes), ice screws, locking carabiners, belay device, and slings. Beyond that, ice requires very different gear than rock. The two crucial instruments are ice tools and crampons. Warm clothing and a helmet are also essential.
Ice tools
Ice tools used for climbing are much shorter than traditional ice-axes. Often, they have bent or curved shafts and rubberized handles. Bolted to the head on the tool is a steep and sharp “pick”. The back of the head is either a blunt hammer or sharp adze. The heads are usually “modular” meaning they can be removed, changed, or replaced.
Crampons
Crampons used for ice climbing are also more technical than traditional glacier travel gear. They generally have 12 to 14 points attached to a rigid or semi-rigid platform. The front points can sometimes be moved to configure the crampon for the terrain and to suit a climber's style.
“For your first pair of crampons, go for ones you can switch between dual or monopoint. Dual is great for beginners as it provides more stability in foot placement. Monopoint is for precision.” – MEC Ambassador Emma Contaoe
Ice climbing boots
Footwear can be rigid leather or plastic, double or single construction. Double mountaineering boots are warm but heavy. Leather is the ice climbing boot material of choice for some because they provide greater mobility and flexibility. Regardless of the type of boot, the attachment system on your crampons must match the boot design.
Ice protection
Ice screws are the standard pieces of protection on an ice climber’s rack. These are threaded, hollow metal tubes that are wound into the ice. Many ice climbers also use shock-absorbing runners called screamers or zippers. The webbing is loosely sewn together like an accordion. If a climber should fall, the runner rips open and absorbs a considerable portion of the force, reducing the shock on the ice and on the screw.
Ice climbers may also carry a small selection of cams and stoppers that can be used to jam into pockets of bare rock. This is especially true of ice climbers that venture into mixed terrain.
What to wear ice climbing
Ice climbing means freezing temps. To minimize the chill (and to help prevent “screaming barfies” – intense pain that happens when blood flow returns to numb hands after being frozen and overhead) warm layers are key. Build a layering system with a moisture-wicking base layer, insulating mid-layers and a shell jacket on top. Make sure your hood is helmet-compatible to fit over your helmet. Depending on the temps, a vest can be a nice mid-layer to give more mobility in your arms. Tip: stash your headlamp in your jacket near your body to keep the batteries from getting too cold and losing charge.
On the bottom, a decent base layer and shell pants usually do the trick, but you can also add a mid-layer if it’s really cold. Since crampons are sharp and pointy, gaiters over your shell pants help prevent holes and keep snow out too. For belaying, bring an extra big puffy coat to throw over everything to keep warm. When it’s your turn to climb, you can strip down to your most efficient (but still warm) layers.
The right gloves are also important – you want something that isn’t too thick so you have dexterity and grip (think light or midweight thickness). Bring extra gloves in case your main pair gets wet, liner gloves you can layer under your climbing gloves, and another toasty warm pair of gloves or mitts for belaying and hanging out.
You’ll need a pack to get your gear to the ice climb too. For multi-pitch climbs, you’ll also want a smaller pack with your for your warm coat or extra gloves.
“Bring a lunch that’s easy to eat and won't freeze (a sandwich, wrap) and snacks that give you lots of fuel. I keep my energy bars close to my body to keep them from freezing.” – MEC Ambassador Emma Contaoe
Get set for safety
Safety is a must when it comes to ice climbing. Some ice climbs are in avalanche terrain, so knowing the conditions and hazards before you go is a must. Check out Avalanche Canada for links to avalanche safety training courses. Winter emergencies are also a reality to prepare for. Make sure to head out well equipped with safety essentials appropriate to the terrain, conditions and the size of your group. As with any outdoor activity, bring a well-stocked first aid kit; make sure it has supplies that can deal with deep cuts, bleeds and punctures. Along with your toasty layers, plan ahead with extra warm layers and heat packs not just for you, but also for anyone that might be sidelined with an injury. Keeping your group safe while sending is part of a successful day out.
“Don’t forget your headlamp – daylight goes fast in winter. We forgot a headlamp on a WI5 climb and had to rappel down a route aided by light from passing cars on the nearby interstate. Never again.” – MEC staffer tip


